Thursday, February 20, 2020

Monogram "M Fold" Birthday Card


This monogrammed birthday card was made for my neighbor.
I followed the video tutorial from Mary@Cardz TV on her youtube channel.
The monogram itself was obtained from Design Space
 and is approximately 2.5 x 3".
I did add a slim ribbon and popped the M to add dimension.
The finished card is 4.5 x 5.5.


The sentiments were stamped using stamps from Stampin' Up and colored using pencils.
This card may be made using either the Landscape or Portrait scenarios.
I chose the Portrait for this particular card.
Thanks for taking a look!


Sunday, February 21, 2016

Birthday Shabby Chic

I made this card for my sister's birthday.
The picture does not do it justice, but since I put it in the envelope
before I checked the pics, it will have to do!


The beautiful foil paper on the top is actually a rich maroon color
that matches the dainty rose print on the bottom.
I chose the pleat fold to accentuate the bottom.
A gold lame ribbon and a die cut tage adorn the card front
along with a stamped Happy Birthday (using Memento Ink) sentiment on a
hand cut banner.


I embossed the whole card base, encorporated the mat from the matching
paper on the front, embossed the Happy Birthday mat, and added a pocket
to hold the die cut tag that will send my personal message.

Thanks for looking!

I will enter this in the following challenges:


Thursday, February 18, 2016

We share our heart...

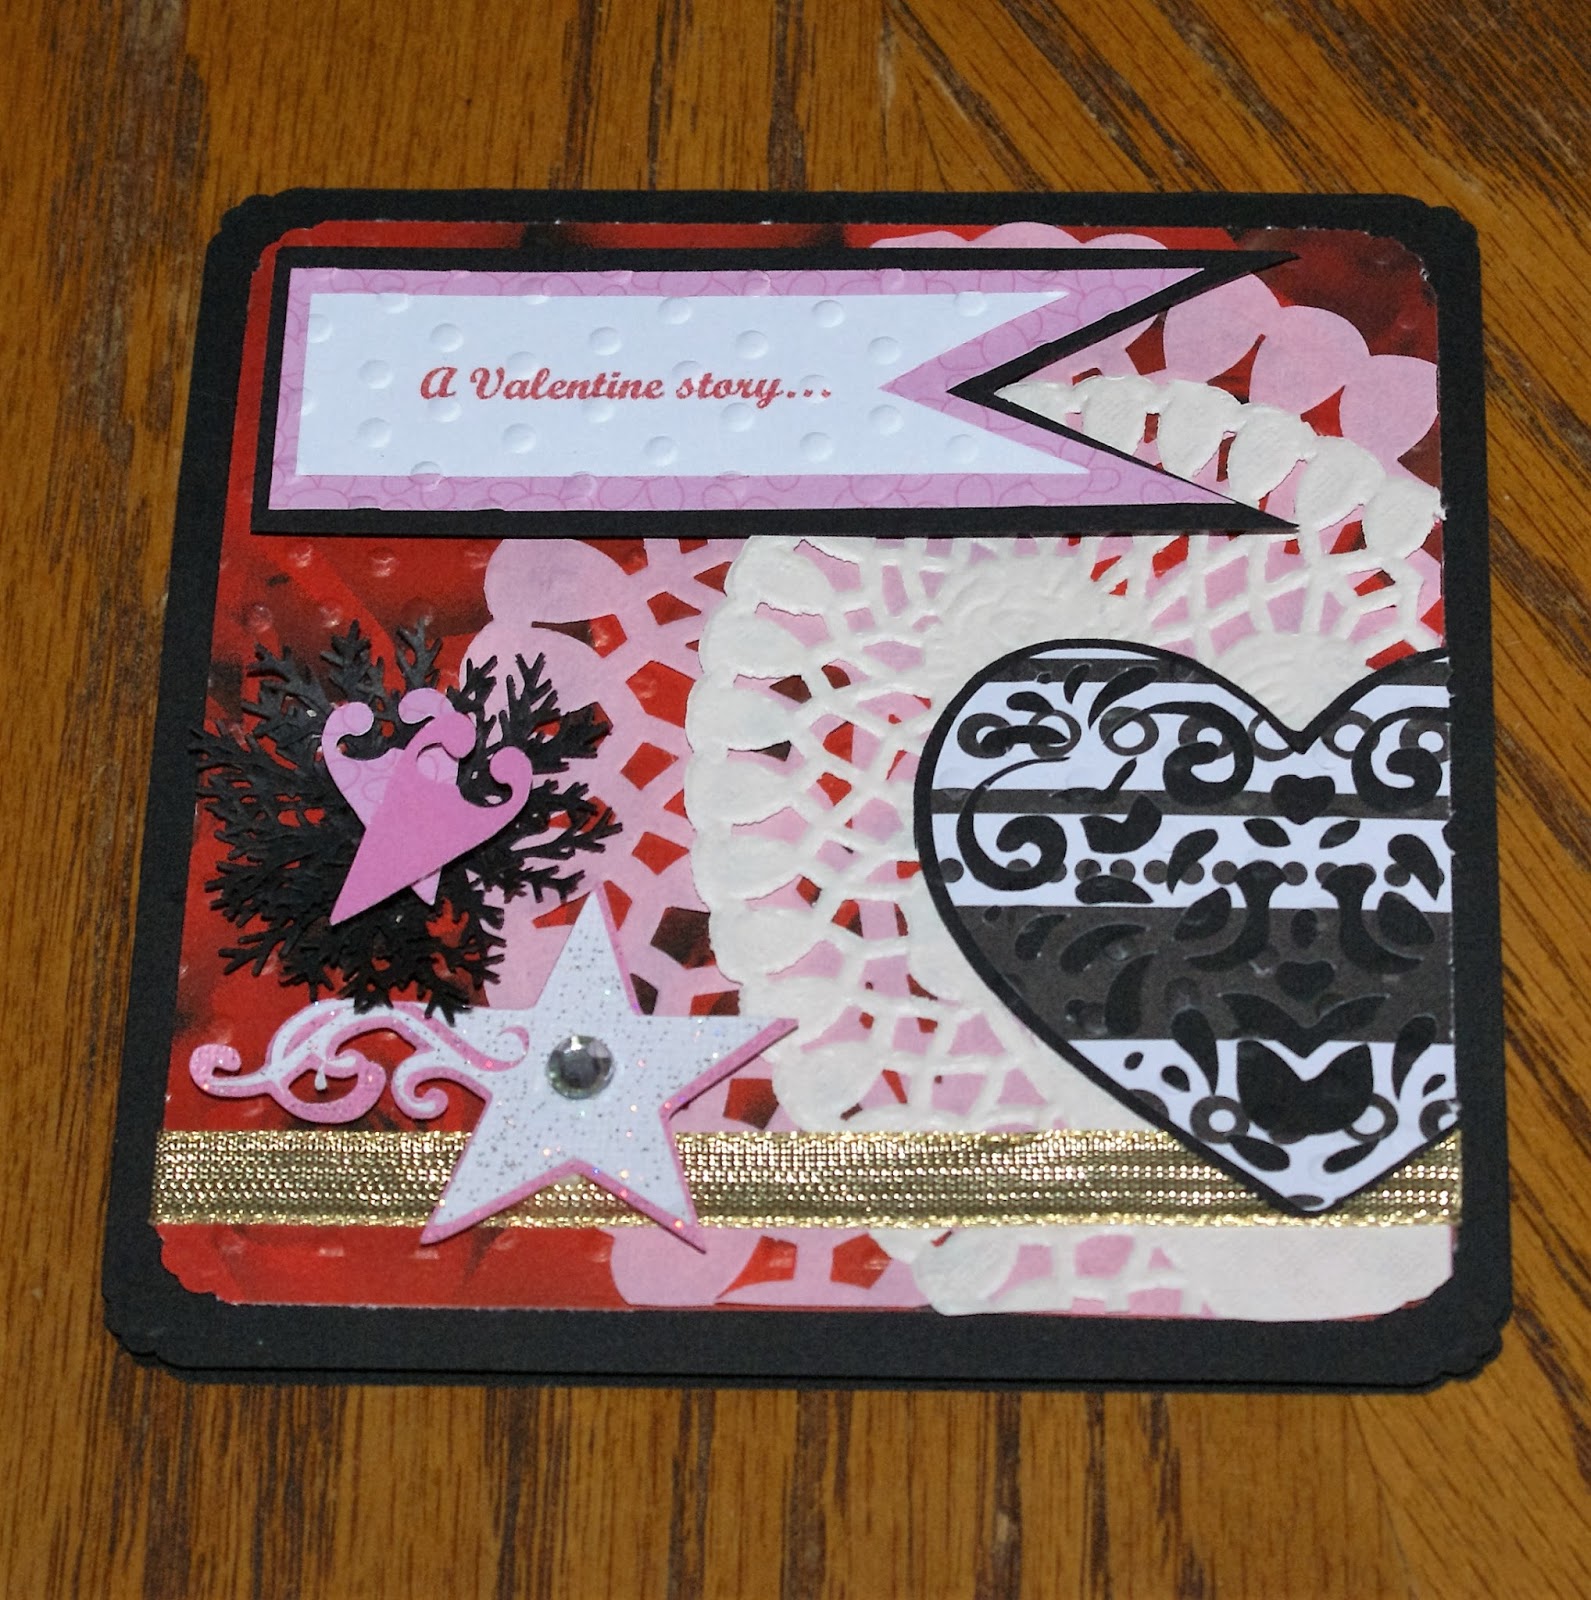
This Valentine was made for my dear friend. 
I met her a few years ago under difficult circumstances.
Since then, our friendship has blossomed and grown.

This is a fairly easy card to make and took only a short amount of time to complete.


I started with a black cardstock base, matted the front with a red pattern paper,
 and rounded the corners.
Starting with an offset larger pink heart doily, I added a smaller white heart doily,
followed by a black and white heart cut from the FAF cartridge.
A gold lame ribbon adds some sparkle, followed by a fancy star from the HD cartridge
with a gemstone in the middle gives this card front some bling.
The Martha Stewart branch punch was used to make a wreath to cuddle the two
 entwined hearts.
The matted banner shape was computer generated and hand cut.
A personalized message inside and this card is complete.

Thanks for looking!
I will be entering this is the following challenges:


Friday, February 5, 2016

A Heartful of Love

This is for my Mom's room at the nursing facility.
I thought it would brighten up her surroundings.


The basket is a cut from the Silhouette store, and it is anchored on a
doily that was punched from the Martha Stewart circle punch.

A large pink tissue paper flower is the backbone of this piece and it is
surrounded by hearts from Folk Art and rosebuds from Formal Occasion.

A few pink glittery picks to catch the light and this centerpiece is complete.

Thanks for looking!

I will be entering this in the following challenges:

Mom's Valentine x 3

This is my Mom's Valentine for 2016.
It has been a hard year for our family.  We have had losses and set-backs, but we are still moving forward.  Although she is now in a skilled nursing facility, she continues to improve.


I used the Cricut Sweethearts cartridge for this card.
The front consists of 3 graduated hearts that have been popped
for dimension. 


The inside is the same heart popped and embossed.


The back of the Valentine, is an original verse that I composed for my Mother,
and it is printed in the heart shape.  That makes it just a little more special.


This is the finished easel card.  The white glitter paper along with the
small pink gemstones, set this card on a level all its own.
Happy Valentine's Day, Mom!

Thanks for looking!
I will be entering this in the following challenge:


Happy Valentine's Day!

This is one of my vinyl projects that I have finished for this Valentine Day of celebration.
I started out with a ruby red plate charger and used white and gold vinyl for the adornments.


The center cut is from the Silhouette Store,
the white hearts along the edge are the actual weedings
from that design.
This may be used as a cute decoration or a platter for your goodies!

The small gold hearts are from the Cricut cartridge - Plantin School Book.

I have only recently started vinyl crafts, but I am addicted!
Thanks for looking!
I will be entering this in the following challenges: 


Thursday, October 1, 2015

Happy Haunting!

It has been soooooo long since I have posted to my blog.  A lot of life's changes have prevented me from taking the time to create.

I made this Halloween Door decoration for my Mother, who is now in a skilled care facility.


I used the Happy Hauntings Cricut cartridge to make this project.
I did some inking, and popping to make this decoration come to life.

(Since upgrading to windows 10, I can no longer access my design software.  It has been a painstakingly long process to complete.  I literally had to watch a video to use my Expression 2!)

I will enter this in the 
Simon Says Anything Goes Challenge

Thanks for looking!

Saturday, May 10, 2014

Happy Mother's Day!

Happy Mother's Day!
 
I know it's been quite a long time since I have posted,
but I wanted to show you the pop-up box card
I made for my Mom for Mother's Day.
 
 
I used the instructions from the Splitcoaststampers tutorial.
All images are "Cricut" cuts except for the
Spring Array in the back - that is a print and cut from the
Silhouette Cameo online store.
 
 
Since I won't be sending this in the mail,
I did not have to make sure that all images
fit "inside the box" and that they could be
popped for dimensional effect.
 
 
A personal message on the back of the card,
and this one is complete.
 
Happy Mother's Day, Mom!
 
I will be entering this in the following challenges:


Wednesday, May 29, 2013

Birthday Banner w/ Elmo

Wow!  It's been a long time since I have posted to my blog.
A lot has taken place, but I have re-entered the workplace and
that is taking up most of my crafting time.
I did find the time to make this banner for my grandson's 2nd birthday,
and I love how it turned out.
 
 
The font is from Mickey and Friends,
the scalloped circles and rectangles are from WW,
and the inside shapes are from PS.
Since I did not have a Sesame Street cart,
Elmo is an SVG file that was converted w/ Inkscape.
The bright colors, polka dots, and
Elmo's smiling face, made this birthday banner a hit!
TFL!


Sunday, March 17, 2013

You're Egg-straordinary!

Here is my grandson, Maddix, Easter card for this year.


I started with the tall centerstep card base in white 
and added the mats in shades of blue.
These are some of my favorite colors and I thought thet would go great for Easter.
All of the Cricut cuts are from the Doodlecharm cartridge.
The bunny is cut @ 4" in both regular and shadow,
inked in pink, and finished off with a Peachy Keen face stamp.
I added a "popped" oval from PS for the nose,
put this cute little guy on an Action Wobble 
and this  bunny is complete!


The eggs are cut in varying sizes from 1/4" to 1"
The front and inside sentiments are hand-cut 
and the stamp set is from My Creative Time.


This card has a lot of elements from embossing, stamping,
popping for dimension, to movement.....
all to catch the eye of my little guy.
Happy Easter, Maddix!

Saturday, February 23, 2013

I am featured on FCCB - Spotlight Sunday!

Hi, everyone!
I am lucky to have been chosen for the
This is such an honor for me!
Please check it out and leave me a comment if you enjoy my designs!

Thursday, February 21, 2013

You're Sweet!

I saw this cool tall center step card at Eva's Scraps N Cards
and she was gracious enough to send me the file.
This card fits neatly in a 4.5 x 6 envelope, so if
you don't add a lot of embellishing, will mail with regular postage.


I started with a white card stock base, inked the edges, 
and added the Swiss Dots embossed mats to the front.
The cupcake is from the Home Decor cartridge and
is cut from glitter papers @ 2.75".
The "frosting" is embossed with the Swirls CB folder
and the small hearts are negative cuts from the same cupcake.
The banner is hand-cut, inked, and matted in a darker chocolate brown.
The stamp is from the Mark's Finest Paper "Celebrate Big" stamp set.


I continued the same matting on the inside followed
by more from the same stamp set that has been hand colored 
in pencil and blended.  The small green gems and pink swirls add some bling,
while the top sentiment is backed by a Fiskars scalloped square punch in
the same chocolate brown as the front "Happy Birthday" banner.


I added a "Birthday Recipe" card to the back
for my personal sentiment.


I love to make cards that can be displayed and
this one is just delicious!

I will be entering this in the following challenges:

TFL!


Wednesday, February 13, 2013

Being married to you....

I finally finished my dear hubby's valentine...and not a day too soon!
I usually give him a "surprise" to take to work, so I will
have this in his car tonight and it will be his special something for tomorrow.


I started with a bright red card stock for the base and folded 
it into the shape of an easel card (my favorite!)
Starting with a pink mat, I rounded the corners, and then added
an embossed white mat with some inking to bring out the images.
Followed by a red paper heart doily, I added a real box of chocolates!
This is a small Russel Stover brand with 5 pieces of candy inside....so much fun!


After cutting the hearts from Sweethearts, 
followed by an embossed scalloped circle from Winter Woodlands,
I added a computer generated sentiment on a hand-cut banner
to complete the card front.


This will actually stand up nicely without causing a problem!


I always my personal sentiment to the inside flap -
but the whole sentiment states:
Being married to you is like opening a box of chocolates /
Each day new and exciting and full of surprises
The inside mat is adorned with a Close to my Heart stamp,
while the bottom one is decorated with a stamp from Stampendous.
The sentiment framing is from Art Nouveau and the glitter papers make it sparkle.
 A touch of ribbon and this gorgeous card is complete!


Everything will go in this little lunch bag.
I have to admit, I didn't take much time decorating this,
but it's all about the treats inside this time......
not the wrapper!


Nestled inside Hubby's treat bag along with his card, 
are these "big smackers!"
Hand-made candy by me with love......
one is peanut butter and the other is white chocolate.
Happy Valentine's Day, my love!
TFL!
I will be entering this in the following challenges:


Tuesday, February 5, 2013

Love Note

This cute and simple card will be going out
 to one of my dear friends.
Although she has a lot of people who care about her,
she stays to herself and spends most of her time making
sure that her sister is comfortable in the nursing home.
Hoping to brighten her day a bit, 
I made her this "love note" Valentine.


The envelope and hearts on the front are from Doodlecharms,
while the hearts that adorn the inside are from the Sweethearts cartridge.
I also used the Sweethearts card feature to cut the card base.
The banner is hand-cut, but I am not sure who makes the stamp,
since it seems that I had cut off the top of the package!
Glitter papers, inking, ribbon, and some embossing add to the flair of this project.


A handwritten "Thinking of you on Valentine's Day"
will finish off the inside.
It will be nice to let her know that a friend is thinking of 
her on this Valentine's Day and she is not alone.

I will be entering this in the following challenges:
Monday, February 4, 2013

Tons of love

This is my grandson's Valentine card.
I have had this idea rolling aound in my head and since the weather
outside was frightful.....off to my craft room for the day!

I started with the dump truck from EDPD, filled it with embossed hearts (PS)
and put it on the road from the same cartridge.
I love display cards, but was getting weary of easel and center steps...
so I chose the Concertina Card fold for this one.
I started with a white base and covered the panels with a pretty striped pink paper.
The hearts range in size from 3" to 1/2" and are all cut
from glitter papers shadowed in black.
Embossing all of them gives this project more dimension.
A small banner on the top gives the card front sentiment
and is a Cardz TV stamp, while a matted personal verse on the back finishes it off.
I love the way this looks.....especially since we are sending
"tons" of love off to Maddix!

Thursday, January 31, 2013

It's Time to Celebrate!

Here is a new twist on card making that I found on 
Splitcoast Stampers tutorials - Window Blind Card.
Although my first attempt was time consuming,
I would definitely make this one again.  I do not really
use dies, so adapting this to my Cricut was a bit more challenging.


I started with a white card stock base that is 5x7" when folded,
rounded the corners, and inked the edges in a mint green.
After matting the front with 3 different patterned papers,
I cut out the rectangle window with my 
Cricut using the center-point feature.


I used a Studio G stamp, colored it with pencil,
and centered it on a coordinating paper mat on the inside.
After embellishing it with balloons from the ACY cartridge,
I then started to assemble my "window blind."
I used a scrap piece of paper, punched a border, and used
this for the window valance.


Since I did not have a needle large enough to thread the ribbon
through, I improvised and used a paper clip - it worked fine!
Additional ribbon and punched dragonfly embellishments to the front,
and front is pretty much done.


Since this card does not open up, I needed a design for the back.


I used my MS Circle Punch for the background, 
cut 2 circles from PS, and added the Happy Birthday from ACY.
This card is cool!  It is definitely something different for someone special,
and it should mail without extra postage.

I will be entering this in the following challenges:


Monday, January 28, 2013

All that Stickles Challenge Blog

 
Check out this new challenge blog and giveaway!


Just my type...

I love this typewriter from the Suburbia cartridge!
My son has a birthday coming up next month, and since it is close
to Valentine's Day, I chose the colors red, black, and white for this project.


I started with a bright red cardstock for the base, added a
white mat, glittery red ribbon, punched borders, and
finished it off with two black gemstones.
The frames are cut in 1/4" intervals from Storybook
and then are decorated by hand - "doodle-style."
To add the front sentiment, I cut a slit in the top of the typewriter
with my craft knife, stamped the paper with a stamp from 
Cardz TV's - It's All About You stamp set.
 I do love the color choices - Red, Black, and White always go well together -
and they are my HS Alma Mater colors!

 I will be entering this in the following challenges:
TFL!!

Valentine Blooms...

Since I have not made a cascading card for my Mom,
I thought it would be nice to do so for Valentine's Day.
This is her card........


I started with a white base, added pink accent panels,
and then inked a white embossed mat.
I used three cartridges for this card -
Damask Decor, Art Nouveau, and Plantin Schoolbook.
All of the smaller hearts are PS, while the larger one on the front
is from DD.  The pretty tulip corner piece is AN and is one of 
my favorite cuts.  The side pieces are also DD and match beautifully.
I did do a little recycling - the dragonfly punches are project leftovers!
The banner stamp is from the Cardz TV Stamps set - It's All About You.


Embossing and popping the images give this card another
added dimension along with the cascade fold.
Using glitter papers on all of the images add sparkle
while glossy accents on the tulip corner, and small gemstones, give
this card the glimmer that a Valentine's Day card deserves!


This card has an elegant flair, and since my Mother is an elegant
and graceful woman, I think this suits her perfectly.
A personal message added to the back of the card
finish it off...along with a few more hearts!

I will be entering this in the following challenges:
Simple Salutations - Use a flower
TFL!

Thursday, January 24, 2013

My Valentine

I saw Mary from Cardz TV's video on a spinner card today
and I had to try it.  I have made them before, but not from the WC cartridge.
Since Valentine's Day is right around the corner, 
that is the theme I chose for this project.


I cut the card at 5.5", as did Mary, but I re-cut the scalloped circle
in 1/4"increments to stack them around the circular window, 
and then embossed them all together.  I embossed the card front
to give it all a more elegant look.
I also found the flower image on the WC cart on page 42 
and cut both the icon shapes at 5.5".
The branches are found on page 48 and are cut from glitter paper
at 5.5 and 4.5".  I then trimmed them down to fit the card front.
The larger icon flowers are cut twice, popped for dimension,
and then finished off with a square gemstone.


I tried to give a little more style to the back of the spinner
wheel itself.  I really wanted to cover it, but was afraid it 
wouldn't spin freely if I did.


I used stamps from my collection which include 
for the window images and inside sentiment.
This is a quick card that is elegant with a touch of bling,
and could be used for a man or a woman.

I will be entering this in the following challenges:
Simple Salutations - Use a flower
D L Art Thankful Thursday - Use Pink or Red